Help Me Once More
And so, to everyone who made it here, welcome to Building a PC for Beginners Part 3. If you haven’t read part 1 and part 2, we’d suggest you do so!
We usually don’t split our articles into so many parts, but we wouldn’t want to bog you down with too much information. That, and the writer could overheat and die like a Pentium trying to run Apex. If you can actually install it in the first place…
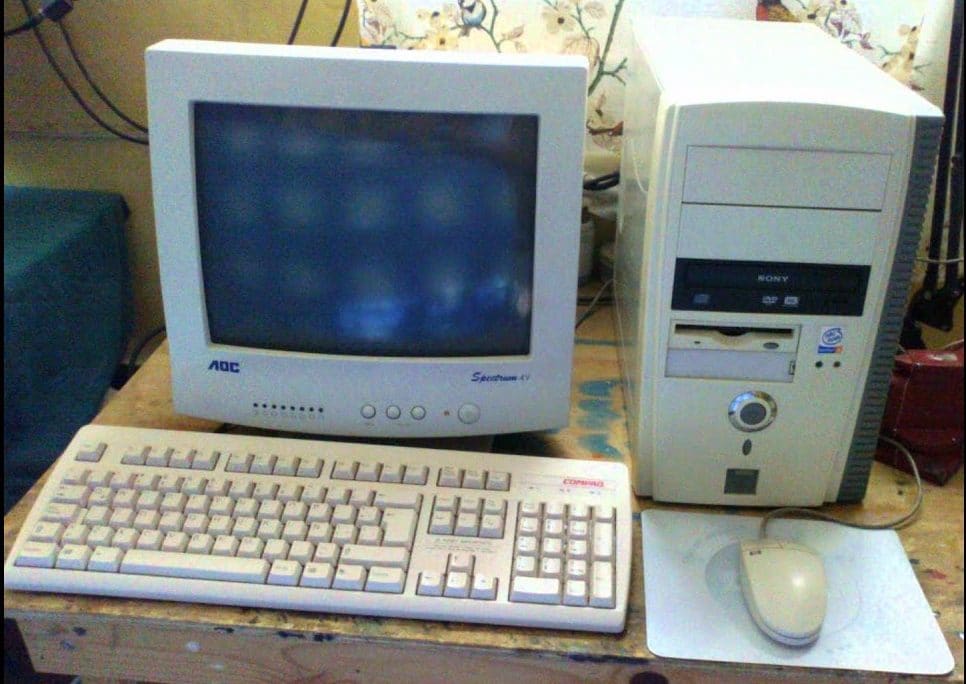
Speaking of overheating, there’s an important component you should know about when building your PC.
Cooling System
Where there’s power, there’s heat. And heat is almost always present when a PC is running. Therefore, you need to keep it cool if you want it to keep working. If you need to ask why, here’s a question: what happens when you’re running in hot weather? You lose energy faster than normal, right? Same thing goes for the PC.
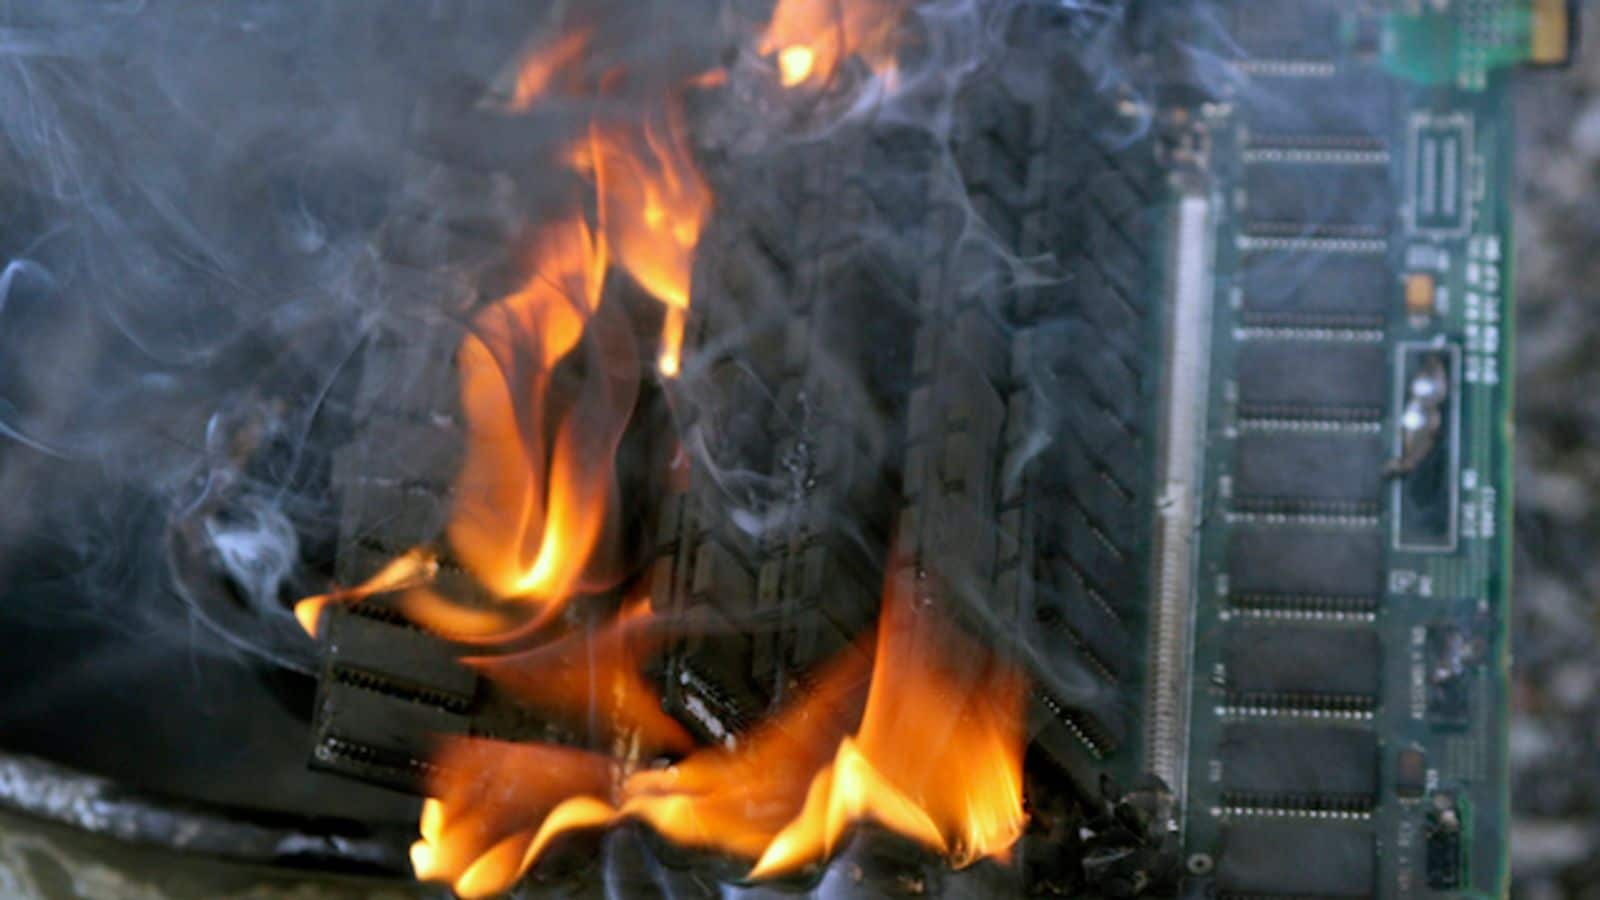
Most PC cases come pre-installed with at least a fan or two. However, it is advised to have more of them. Having more fans will create better airflow which forces out the heat away from the components. The disadvantage of this is that the more fans you have, the noisier it tends to be. This isn’t always true though. It depends on the fan technology.
Here’s a few suggestions on fans:
be quiet! DARK ROCK 4 – RM 459.00
COOLER MASTER MASTERAIR MA410M – RM 199.00
Reeven BRONTES (RC-1001b) – RM 189.00
You could opt for liquid cooling, which is definitely quieter than having fans; though the trade-off is that they tend to be on the pricier side. The good thing about liquid-cooling though, is that they’re more efficient at reducing heat. So, if you’re looking to overclock or work your system to the best it can, time to invest in one.
Here are some liquid cooling systems you could look at:
Cooler Master MasterLiquid ML360R ARGB – RM579.00
CORSAIR Hydro Series H100i PRO – RM 529.00
Do keep in mind their sizes. They’re mostly different, so to avoid purchasing something that doesn’t fit, check the dimensions of your PC case to ensure they all fit; preferably with some extra room as well. This allows for better airflow and mitigates a heat centralized area.
Power Supply
Right, so you’ve decided which components you wanted. And then, suddenly you realize, “Wait a minute, these things are electronics… How do we power them?”
And that’s where we come to the wonder of the Power Supply Unit (PSU). The one friend that you will need to make your PC come to life.
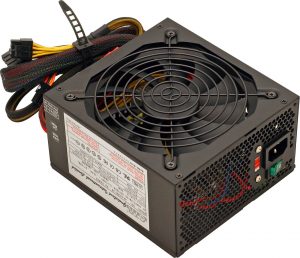
Here’s where it gets a little tricky. Some math has to be done. You can calculate the total power your components require to run by looking at their packaging. Now that you know the total, look for a PSU that supplies slightly higher than that figure.

For example, if you come to a total of 480 W, getting a 500W PSU should be sufficient. You could get something higher like a 600W but you’d be drawing more power from the wall socket. That said, if you’re planning to upgrade your components in the near future, you might come to find that the newer components require more power. The 600W might save you the hassle of having to purchase a new one just in case you go above the 500 by that small margin. It’s a preference we’ll leave to you to decide.
Some suggestions to go with:
500W: Corsair RMx Series RM550x 80 Plus Gold Power Supply – RM 429.00
600W: Corsair VS650 VS Series 650 Watt Power Supply – RM 305.00
Dream PC
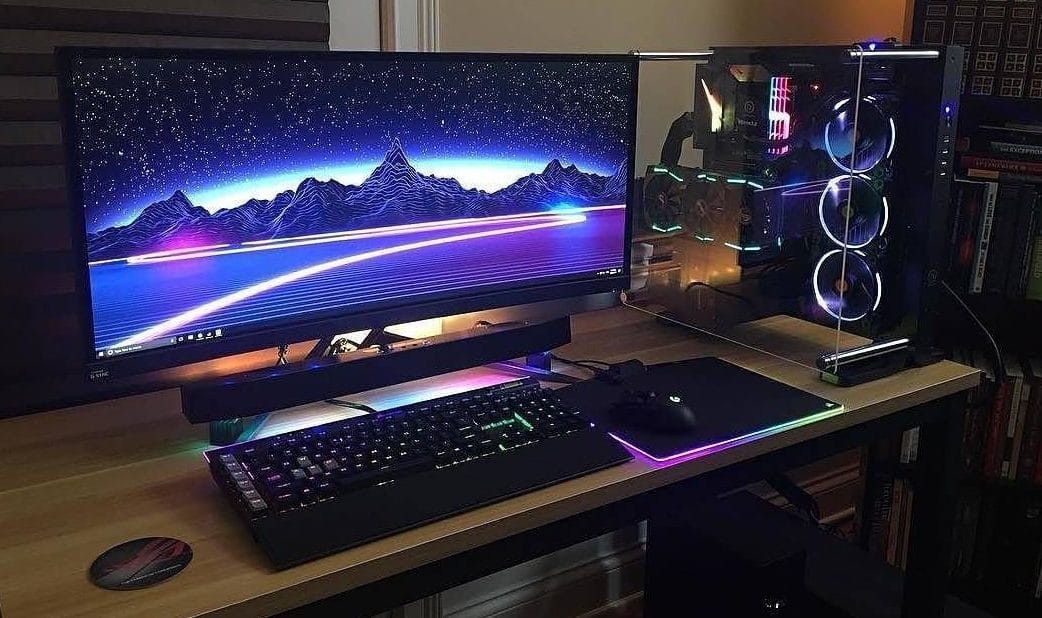
With knowledge from Part 1, 2, and now 3, you can get to constructing the PC you’ve always wanted (if you can afford it). Do take into account what you need versus what people say you should get. They may not necessarily know your needs. Good luck and have fun!
Fancy more content like this? Consider Liking us on our Facebook!


