


Unearthing the Filth
Ah, yes. It’s that time of the year. It’s time to clean the… What in the heck is THAT??
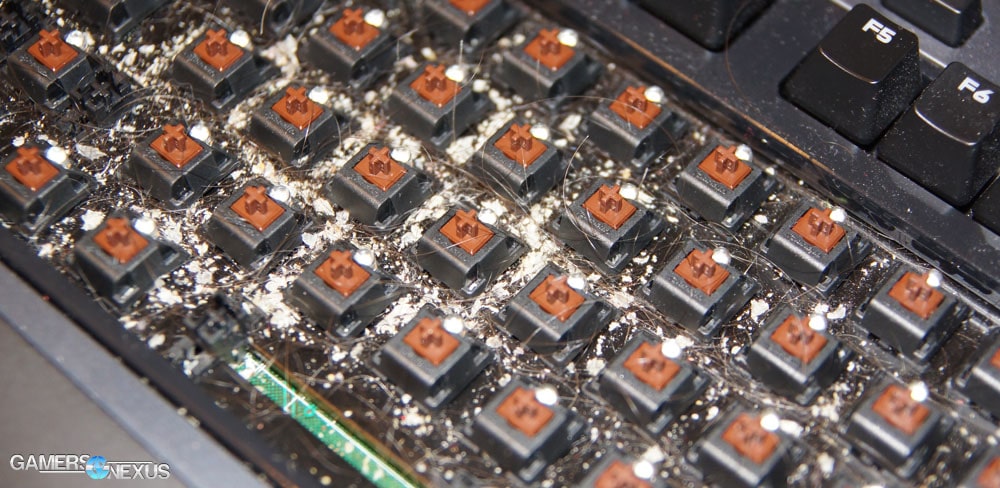
“I remember I went to the park with bubble tea. Not the keyboard. Why does it look like this. What.”
That’s what you’re probably thinking as you pry off the keys; one by one to reveal the darkness you never knew you had in front of you all this while. Yeah. We don’t know how these things get that way either. What we do know, is how to clean them!
Exorcising the Darkness
What you will need:
– Compressed Air
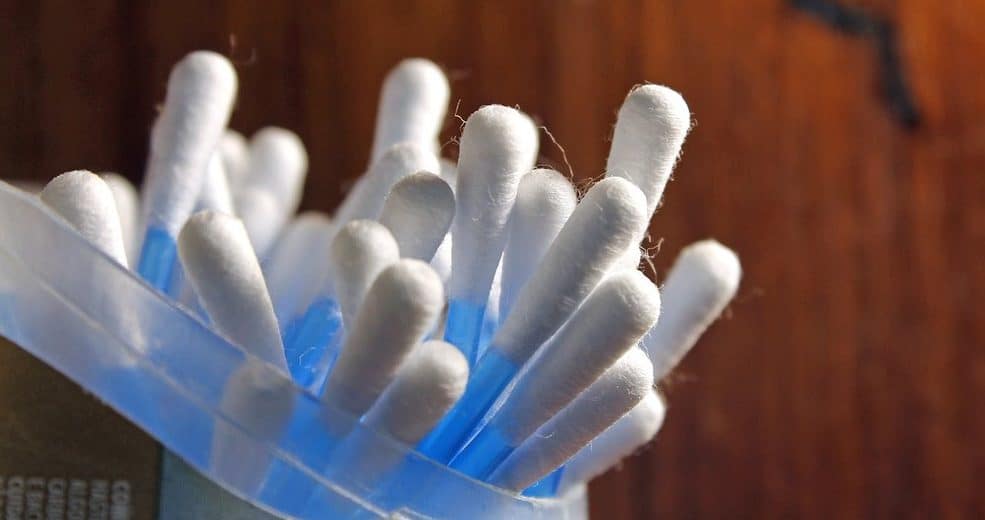
– Cotton swabs
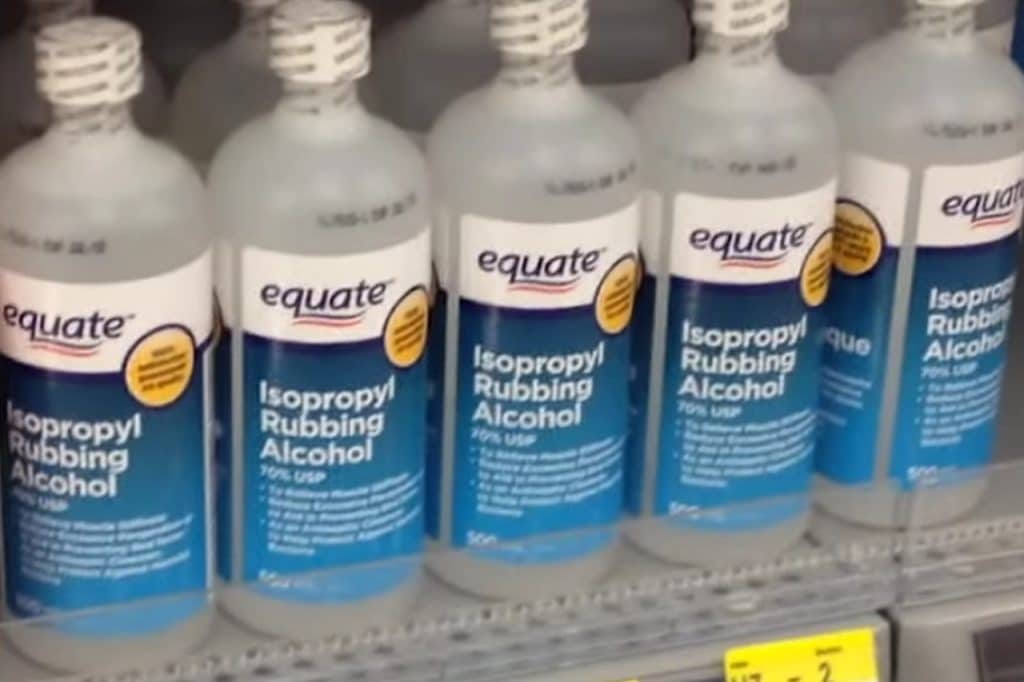
– Rubbing alcohol (Isopropyl Alcohol)/ Warm water
The next few steps will walk you through on what to be doing.
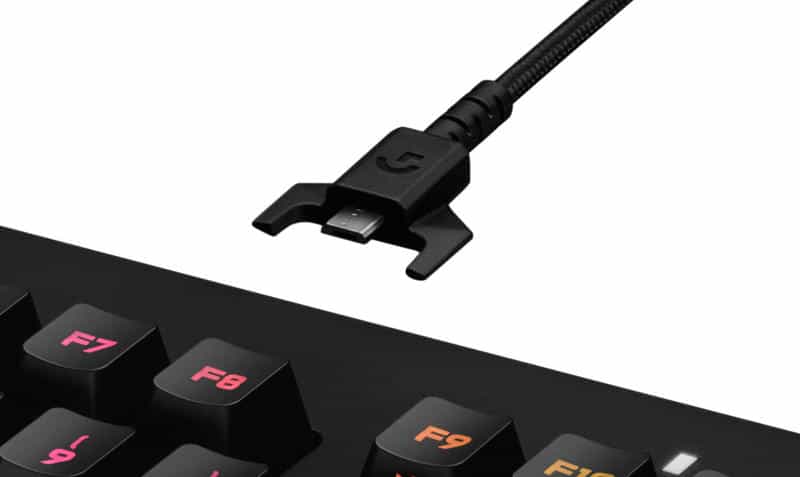
1. Unplug the keyboard
Detach the keyboard from your PC, and be sure to take a picture of the keys. This will help you during the reattachment stage later on.
If you’re confident with remembering the entire placement, that’s great. You must be proud. What a skill to have.
Move on to the next step.
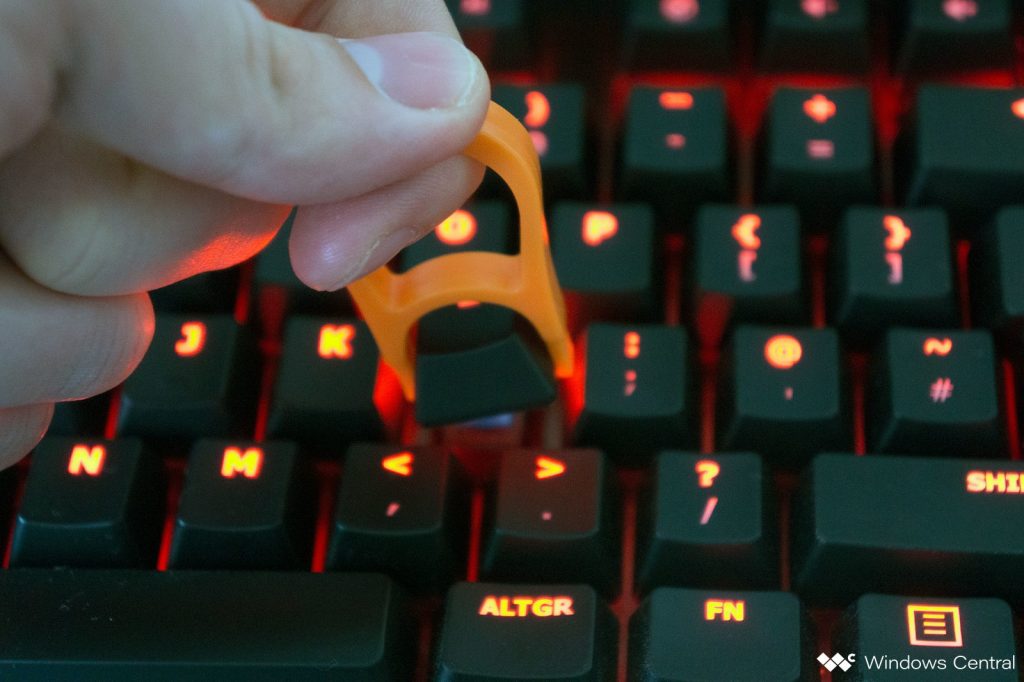
2. Removal
You can now begin detaching the keys from the keyboard. This can be done by pinching the sides of a key and pulling it until it pops off. Be firm but not too aggressive. The keys were made to be detachable.
3. Air Force
We’d advise to be outdoors for this, but given the frequent hot weather occurrence, you could settle for a rubbish bin. Hold your keyboard diagonally towards the bin and tap it lightly. This will get rid of the larger and heavier dirt. When you’re somewhat satisfied, it’s time to bring out the fun part of the cleaning process.
The compressed air.
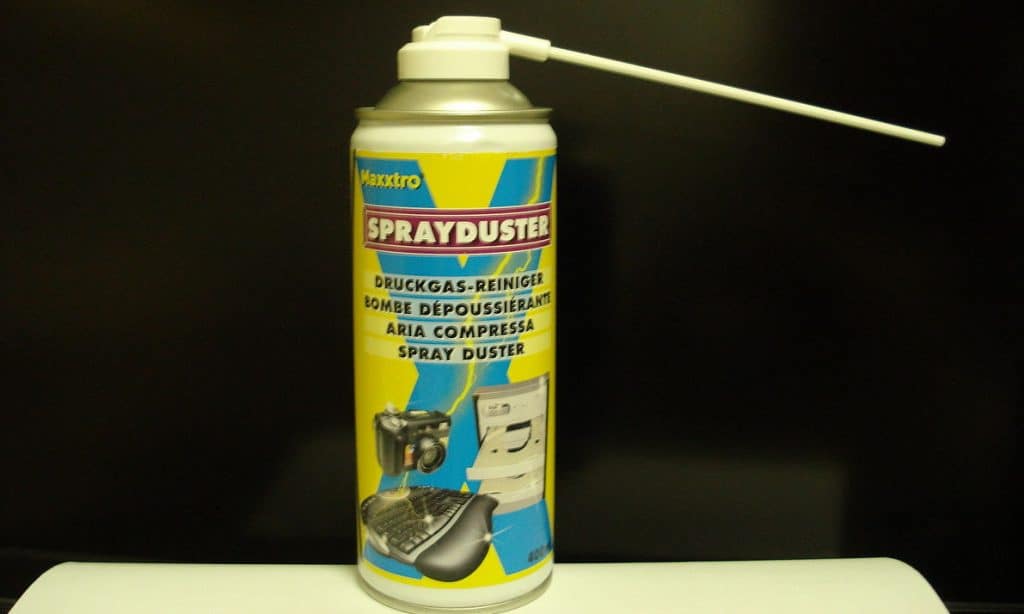
Direct the nozzle towards the keyboard and blow out whatever remains of the dust and dirt. The air will should be strong enough if the nozzle is placed closely to the keyboard. It can be incredibly satisfying as you see the particles leave your keyboard.
4. This Will Take Swab Time
Believe it or not, the compressed air can only do so much. It can get to hard-to-reach areas like the deep corners of the keyboard, but it can’t remove 100% of the dirt. This is where the cotton swab comes in.
You don’t need a lot of them. One or two should be enough.
Scrub out the last remnants of dust, food, grime, and hair. You might need a little strength for this as these things can be really stubborn.
5. Warmth of Love
Now, yes. We know it says “alcohol”, but this isn’t the same one you take at the bars or the ones you have at home (no need to deny; we know you have them). This is “rubbing alcohol”; you know, for CLEANING stuff and treating wounds? In all seriousness, if you drink this, our condolences. If you’re still alive after that, you better think about what you’ve done.
Back to the tutorial.
Pour out a little of the alcohol into the cap. Use a few cotton swabs and dab them in the liquid. You can then wipe the space between your key buttons on the keyboard. This should get rid of the unseen dirt and grime. Alcohol evaporates pretty quickly so you don’t need to dry them.
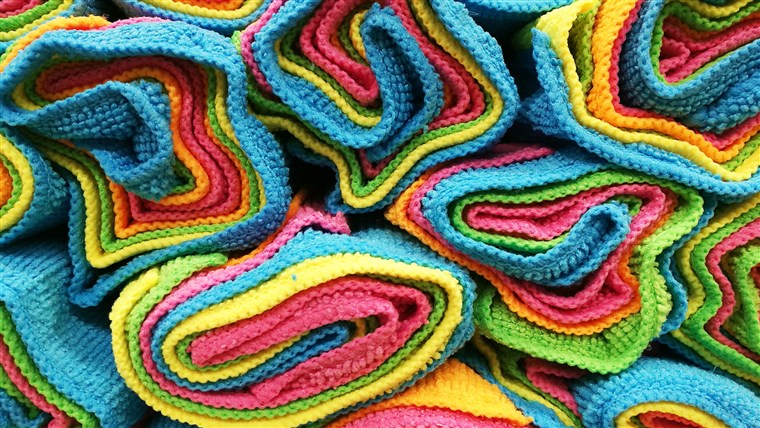
If you don’t have access to rubbing alcohol, you can use a slightly damp static-free cloth to wipe your keyboard buttons. Microfiber cloth counts as static-free.
For the keys, simply do the same. Use a cotton swab, dab it with alcohol and clean the sides especially.
Again, if you don’t have access to rubbing alcohol, a small pail of warm water will do. Soak the keys in the water and scrub them gently. Using a piece of cloth is fine as well. If you’re using water, you might need to leave them out to dry indoors for a bit.
6. Reassembly
You should be done in about 30 minutes to an hour of cleaning. Once you’ve polished every key to your liking, it’s time to reassemble all of it.
Remember the picture you took at the earlier stage? It’s time to refer to it and put everything back together. If you didn’t… *sigh*… Here’s one to help you out.
Your keyboard should now feel good as new (unless you broke something). Plug it back in and enjoy using it! Game on. Type on. Whatever it is you do with your keyboard.
Fancy more articles like this? Consider Liking us on our Facebook!


